Users
Overview

The following documentation covers the new UI. If you are looking for information regarding the old one, please visit the following link.
The Users screen gives you control on all the Webio accounts (Users) belonging to your Organization and Sub-Orgs.
From here you can navigate the complete list of Users, from all the Organizations you can access. Also you can:
- Create new Users.
- Edit settings and permissions of existing Users.
- Delete existing Users.
Select an Organization, from the top-right drop-down list, to display the Organization's Users.
How To Create A New User
To create a new Users, navigate to Settings then click Users. Click 'Add User' then fill in the User details:
- Username: This is the Username with the new User can log at https://newapp.webio.com/ once their account has been created. Logging into Webio for the first time
- Name of the User: This is the name you want to assign to the User. This will stamped against the conversation when a conversation is assigned to an user and next to the outbound messages if sent from an human agent (This name is not visible to the end customer)

For Webchat the name displayed when an agent sends a message is the name on the Name field of the account, "Fred" in the example above. This should be set to however Users want the name displayed, typically for webchat a first name or nickname. For Insights purposes the Username can be used to identify the relevant user. (This name is visible to the end customer) 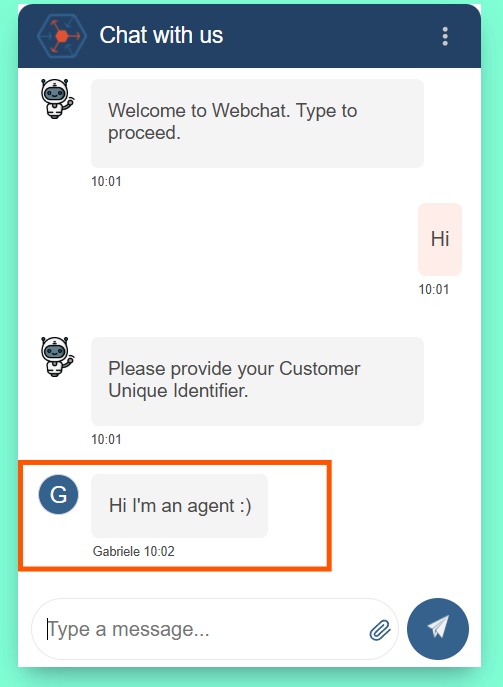
- Phone number: If needed, you can populate this field with the real User phone number, or you can also use dummy data in here.
- Email: Once a new User is created, an email will be sent to their email address containing their Username information and a link to set up their password.
It is essential to provide the actual Users email address, as new Users will be receiving a notification containing their username and a link to set up their password for their new Webio account.
- Organization: Choose from the Organization for which you are creating the new User.
- Role: When you create a new User you need to assign their Role.
The User Role will determine what screen of the web application the User can access. Please note that the list of available User Roles is inherited from the ones available to Organizational you have selected. If you require brand new User Roles, you will have to configure them from the Organizations screen. Click here to learn more.
How To Edit User Details
From the User screen, select the Organization on the top right corner then click 'Edit' in the 'Actions' column to modify the existing User details.
You can now:
- Suspend/Unsuspend the user
- Change user's details
- Change user's Organizational Unit
- Assign a new Role to the User
- If you require brand new User Roles, you will have to configure them from the Organizations screen. Click here to learn more.
- Reset user password
Click 'Update User' to confirm the changes.
How To Remove An User
From the User screen, select the desire Organization on the top right corner then click 'Remove' next to the User profile.
Click 'Remove' to confirm the User removal.
Related Articles
User roles
Overview The user role assignment will determine what Webio's screen, the user can access within the Organization they are logged in. A Role permission is a way of granting or denying access to a certain resource or operation in Webio based on the ...Setup your Organization
Overview To access the Organizations screen, from the navigation panel on the left-hand side, click on Settings, then Organizations; From here you can control your organization's settings and all your sub orgs. When you create a new organization or ...Logging into Webio for the first time
Overview Once your Webio user account has been created you will receive an email with a link to set your password. If the email hasn't been received, check in your junk folder. Don't have a user account yet? Contact your administrator or email ...Adding A Queue
Overview The Queues screen, helps you to manage your team's workload. You can create as many queues as you like and can either move conversations to these queues manually or have a bot move them where relevant. Through the use of queues you will be ...How To Edit Or Delete A Bot
Overview Whether you're customizing a bot to better suit your team's needs or removing one that’s no longer relevant, managing bots effectively ensures your workspace remains efficient and clutter-free. This guide walks you through how to edit and ...